There are a few tools you will need to be familiar with: the clone tool, the patch tool, the spot healing brush, as well as blending modes and layer masking. If you know what all of these are, great, let's move forward.
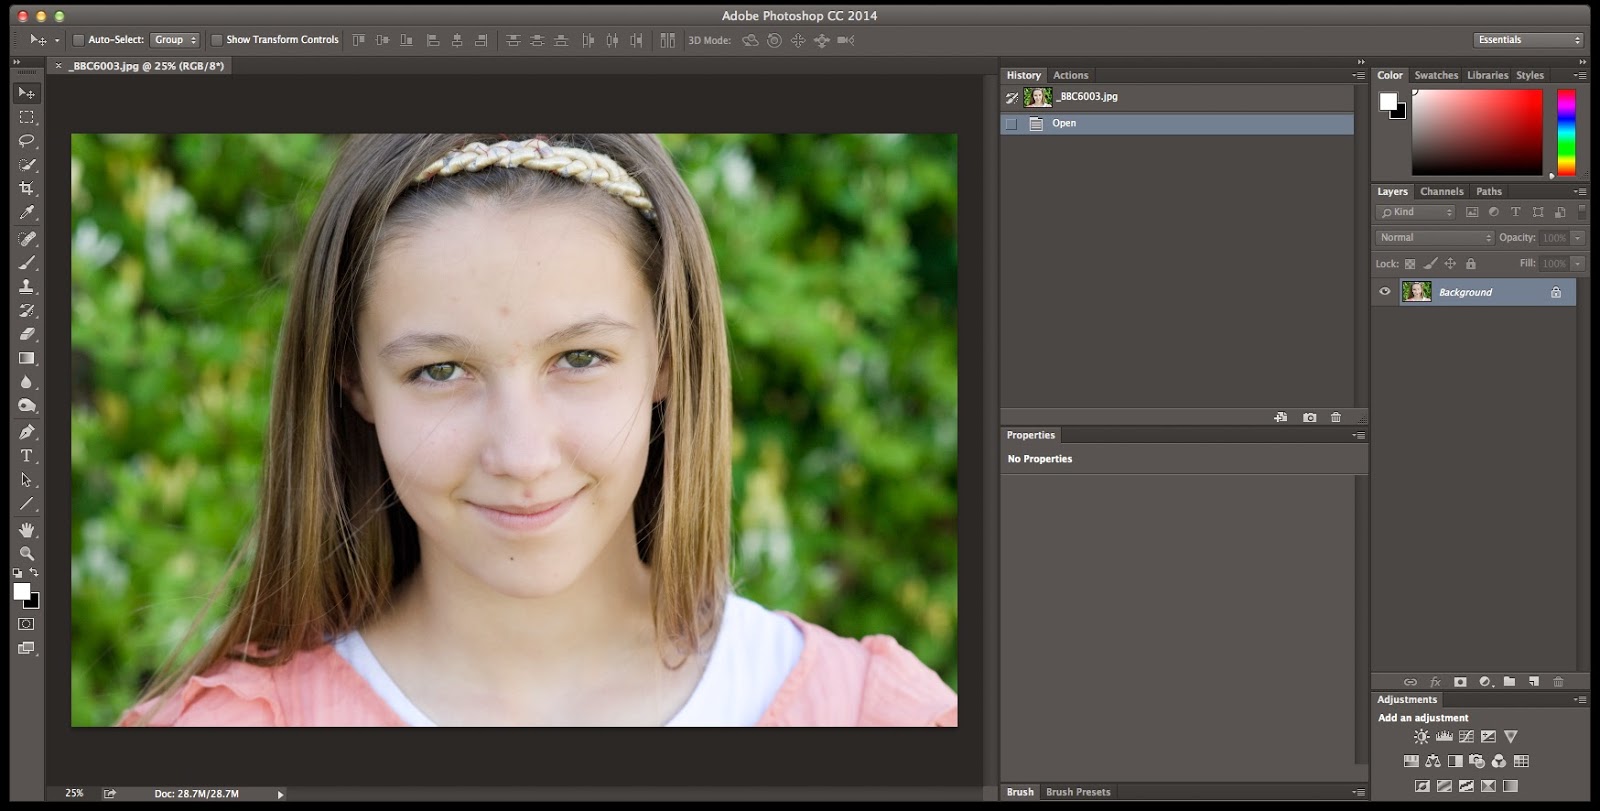
First, open your image. Then duplicate the layer twice. Rename the first duplicate COLOR and the second TEXTURE, so you know which element you are working on.
Select the Color layer. Then go to Filter, Blur, Gaussian Blur. Add a gaussian blur at about 10-15 pixels.
Next, select the texture layer. Go to Image, Apply Image. Change the Layer to Color, and the Blending to Subtract. Then you will change the scale to either 1 or 2 (you will have to check the image once applied to make sure it's not too harsh and then adjust) and the scale to somewhere between 115-130. Then set the blend mode of the texture layer to linear light (sometimes vivid light works too). A lot of this is trial and error for the specific picture you are working on. Once you have those two layers set, put them in their own group. Toggle the group on and off to make sure that it looks the same as your background layer. Once you had adjusted all the settings so that it really doesn't look like you did anything when you toggle on and off, you are ready to get started.
The first layer to work with is the color layer. You will want to use the clone brush. Adjust the opacity to about half, and the flow to about half as well. You can keep the blend mode at normal if you want, but lighten will make it less harsh. Select an area of your subject's skin, by using the option key, that you like best and use that as your clone to even out the rest of the skin. You may need to go over areas a couple of times, but it's best to start out subtle. Once the skin color looks even, then we can move onto the texture.
Next, select the texture layer. You are going to use the spot healing brush for this part. Using the option key, select a spot relatively close to a scar, more or other blemish. You can then spot heal over the blemish without changing the color of the skin. You will simply change the texture. Go around the skin and remove all of the blemishes this way.
Your finished image should look very even in tone and texture without looking fake. Good luck, remember, a lot of trial and error! Don't be afraid to mix up your settings and see what happens :)
A few more examples
Can be used to retouch faces suffering from blown out pixels or harsh shading
Or to remove redness and beauty marks
Sometimes I like to go over this version of frequency separation with another version found here that adds an overall smooth texture. Feel free to check it out!


No comments:
Post a Comment