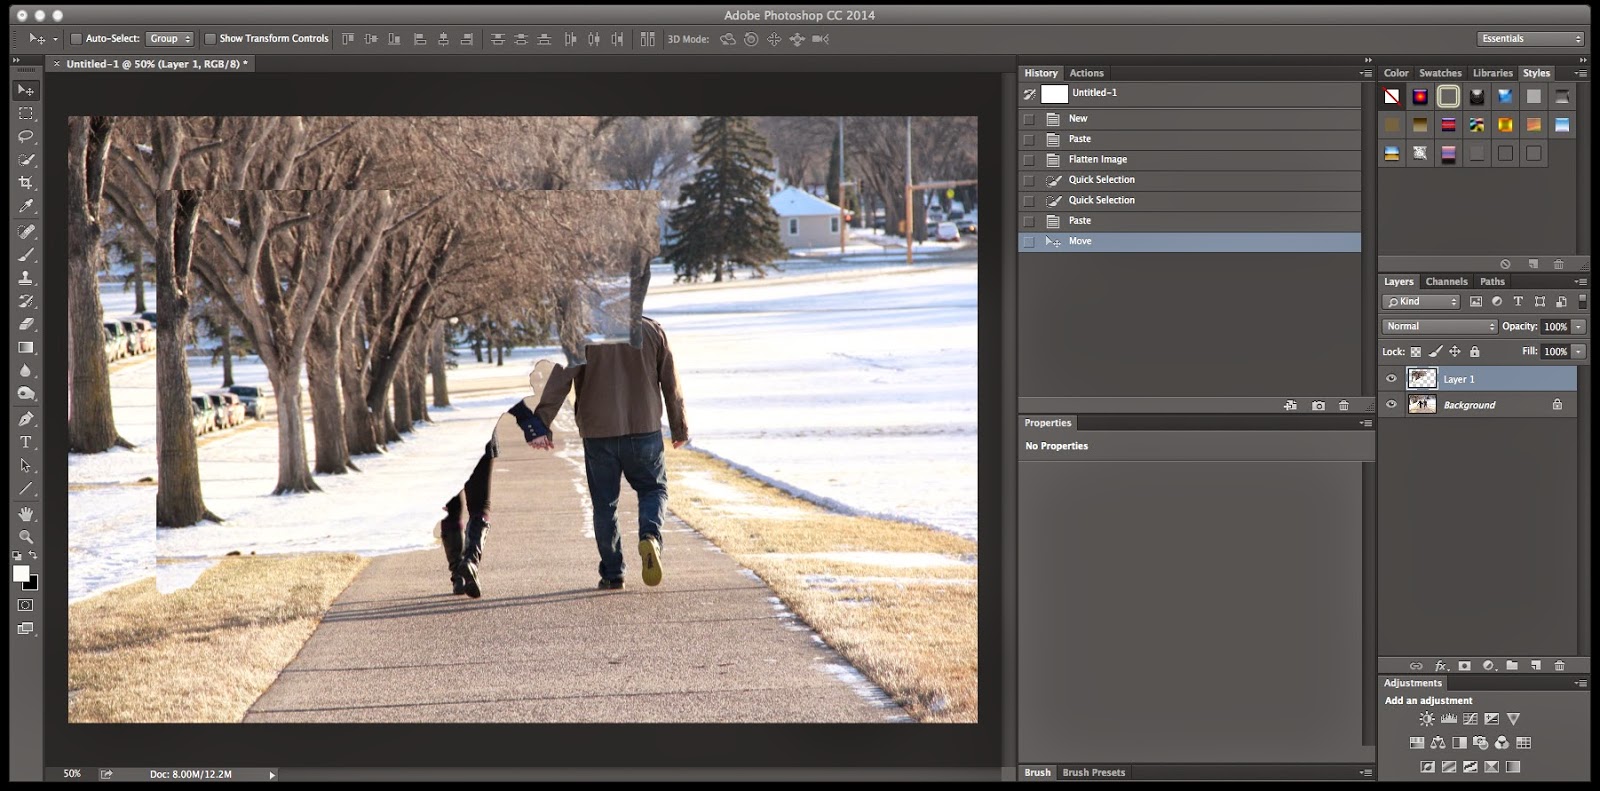
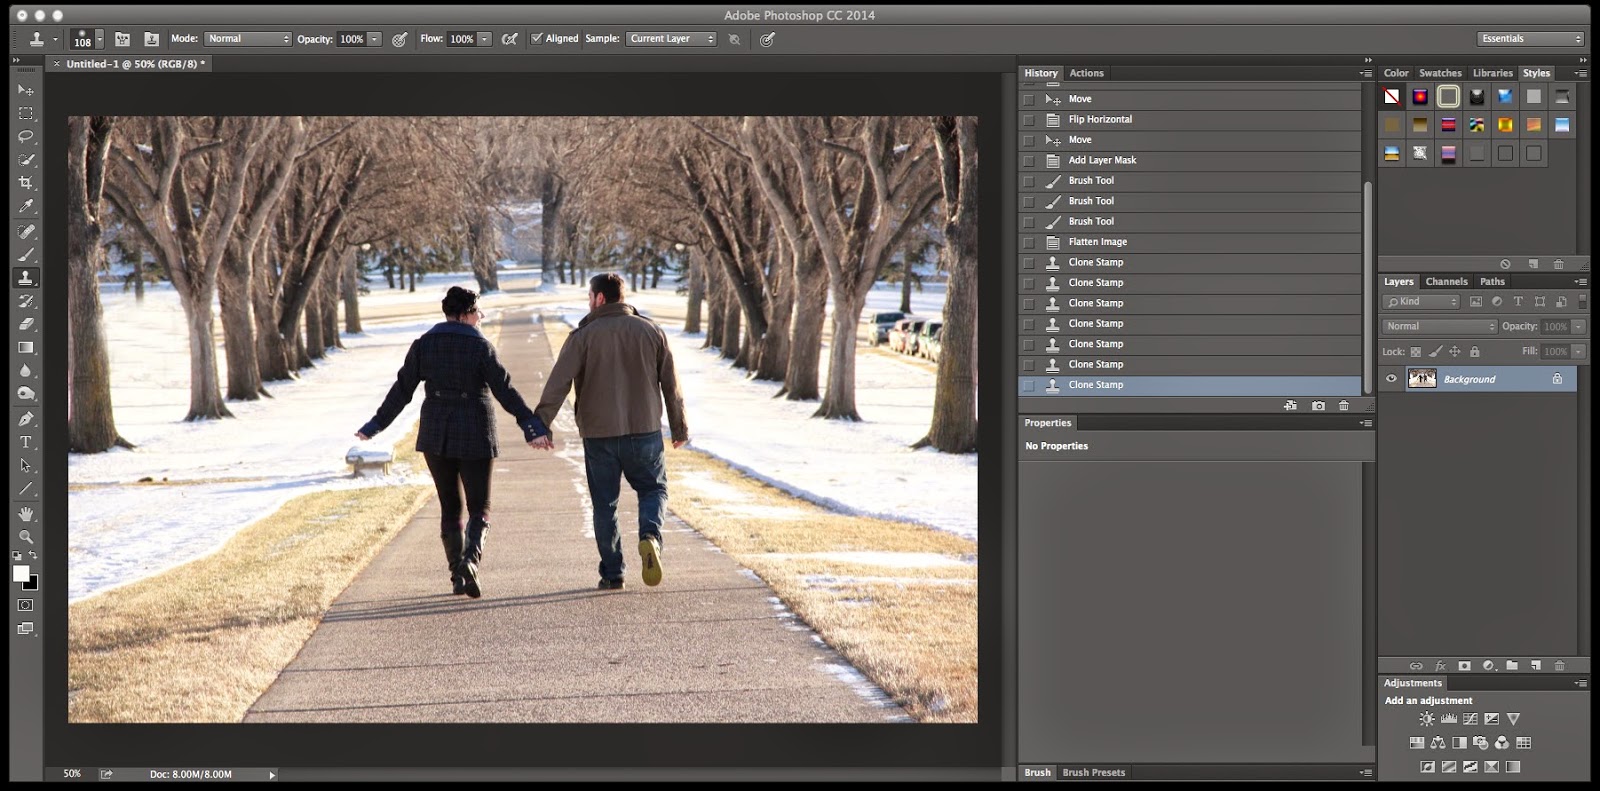
Using a cloning tool and mirror effect can seem hard. But! Here is a quick and, I will admit, a bit sloppy way to get it done. It works :)
Start out with you image, and decide on which portion you'd like to mirror. For this image, its going to be the trees on the left side.
Using the Quick Selection tool, highlight the area and then command C to copy.
Then command V to paste. Under Edit, Transform Flip Horizontal to mirror the selection.
Add a layer mask to the duplicated trees and brush off at 0 hardness the area over the subject and the snow to make it look natural.
Flatten the image once your subject is visible. Then you are going to select the Clone Tool and using the option key, select an area you'd like to use to cover an unwanted area. For example, the cars on the left side of the image. I selected the snow using option and then began to paint over the cars. I did the same thing at the top center of the image with the tree line to cover any leftovers of the homes and make the branches seam together better.
Have questions or need more help? Leave a comment!


No comments:
Post a Comment